在原生组件上调用原生函数
在编写新原生组件的基础指南中,您已了解如何创建新组件、如何将属性从 JS 端传递到原生端,以及如何从原生端向 JS 发送事件。
自定义组件还可以命令式地调用原生代码中实现的一些函数,以实现更高级的功能,例如以编程方式重新加载网页。
在本指南中,您将通过使用一个新概念来了解如何实现这一点:原生命令。
本指南从原生组件指南开始,并假定您已熟悉该指南以及Codegen。
1. 更新您的组件规范
第一步是更新组件规范以声明 NativeCommand。
- TypeScript
- Flow
如下更新 WebViewNativeComponent.ts
import type {HostComponent, ViewProps} from 'react-native';
import type {BubblingEventHandler} from 'react-native/Libraries/Types/CodegenTypes';
import codegenNativeComponent from 'react-native/Libraries/Utilities/codegenNativeComponent';
+import codegenNativeCommands from 'react-native/Libraries/Utilities/codegenNativeCommands';

type WebViewScriptLoadedEvent = {
  result: 'success' | 'error';
};

export interface NativeProps extends ViewProps {
  sourceURL?: string;
  onScriptLoaded?: BubblingEventHandler<WebViewScriptLoadedEvent> | null;
}

+interface NativeCommands {
+    reload: (viewRef: React.ElementRef<HostComponent<NativeProps>>) => void;
+}

+export const Commands: NativeCommands = codegenNativeCommands<NativeCommands>({
+    supportedCommands: ['reload'],
+});

export default codegenNativeComponent<NativeProps>(
  'CustomWebView',
) as HostComponent<NativeProps>;
如下更新 WebViewNativeComponent.js
// @flow strict-local

import type {HostComponent, ViewProps} from 'react-native';
import type {BubblingEventHandler} from 'react-native/Libraries/Types/CodegenTypes';
import codegenNativeComponent from 'react-native/Libraries/Utilities/codegenNativeComponent';
+import codegenNativeCommands from 'react-native/Libraries/Utilities/codegenNativeCommands';

type WebViewScriptLoadedEvent = $ReadOnly<{|
  result: "success" | "error",
|}>;

type NativeProps = $ReadOnly<{|
  ...ViewProps,
  sourceURL?: string;
  onScriptLoaded?: BubblingEventHandler<WebViewScriptLoadedEvent>?;
|}>;

+interface NativeCommands {
+    reload: (viewRef: React.ElementRef<HostComponent<NativeProps>>) => void;
+}

+export const Commands: NativeCommands = codegenNativeCommands<NativeCommands>({
+    supportedCommands: ['reload'],
+});

export default (codegenNativeComponent<NativeProps>(
  'CustomWebView',
): HostComponent<NativeProps>);
这些更改要求您
- 从
react-native导入codegenNativeCommands函数。这会指示 codegen 生成NativeCommands的代码。 - 定义一个包含我们想要在原生中调用的方法的接口。所有原生命令都必须有一个类型为
React.ElementRef的第一个参数。 - 导出
Commands变量,它是调用codegenNativeCommands的结果,并传入支持的命令列表。
在 TypeScript 中,React.ElementRef 已被弃用。实际应使用的正确类型是 React.ComponentRef。然而,由于 Codegen 中的一个 bug,使用 ComponentRef 会导致应用崩溃。我们已经修复了该问题,但需要发布新版本的 React Native 才能应用它。
2. 更新应用代码以使用新命令
现在您可以在应用中使用该命令了。
- TypeScript
- Flow
打开 App.tsx 文件并按如下方式修改它
import React from 'react';
-import {Alert, StyleSheet, View} from 'react-native';
-import WebView from '../specs/WebViewNativeComponent';
+import {Alert, StyleSheet, Pressable, Text, View} from 'react-native';
+import WebView, {Commands} from '../specs/WebViewNativeComponent';

function App(): React.JSX.Element {
+    const webViewRef = React.useRef<React.ElementRef<typeof View> | null>(null);
+
+    const refresh = () => {
+        if (webViewRef.current) {
+            Commands.reload(webViewRef.current);
+        }
+    };

  return (
    <View style={styles.container}>
      <WebView
+       ref={webViewRef}
        sourceURL="https://reactjs.ac.cn/"
        style={styles.webview}
        onScriptLoaded={() => {
          Alert.alert('Page Loaded');
        }}
      />
+      <View style={styles.tabbar}>
+        <Pressable onPress={refresh} style={styles.button}>
+            {({pressed}) => (
+                !pressed ? <Text style={styles.buttonText}>Refresh</Text> : <Text style={styles.buttonTextPressed}>Refresh</Text>) }
+        </Pressable>
+      </View>
    </View>
  );
}

const styles = StyleSheet.create({
  container: {
    flex: 1,
    alignItems: 'center',
    alignContent: 'center',
  },
  webview: {
    width: '100%',
-    height: '100%',
+    height: '90%',
  },
+  tabbar: {
+    flex: 1,
+    backgroundColor: 'gray',
+    width: '100%',
+    alignItems: 'center',
+    alignContent: 'center',
+  },
+  button: {
+    margin: 10,
+  },
+  buttonText: {
+    fontSize: 20,
+    fontWeight: 'bold',
+    color: '#00D6FF',
+    width: '100%',
+  },
+  buttonTextPressed: {
+    fontSize: 20,
+    fontWeight: 'bold',
+    color: '#00D6FF77',
+    width: '100%',
+  },
});

export default App;
这里的相关更改如下
- 从 spec 文件导入
Commandsconst。Command 是一个对象,允许我们调用原生中的方法。 - 使用
useRef为WebView自定义原生组件声明一个 ref。您需要将此 ref 传递给原生命令。 - 实现
refresh函数。此函数会检查 WebView 的 ref 是否不为 null,如果不为 null,则调用命令。 - 添加一个 pressable 以在用户点击按钮时调用命令。
其余的更改是常规的 React 更改,用于添加 Pressable 并为视图设置样式,使其看起来更美观。
3. 重新运行 Codegen
现在规范已更新,代码已准备好使用该命令,是时候实现原生代码了。但是,在深入编写原生代码之前,您必须重新运行 codegen,让它生成原生代码所需的新类型。
- Android
- iOS
Codegen 通过 generateCodegenArtifactsFromSchema Gradle 任务执行
cd android
./gradlew generateCodegenArtifactsFromSchema

BUILD SUCCESSFUL in 837ms
14 actionable tasks: 3 executed, 11 up-to-date
这会在你构建 Android 应用程序时自动运行。
Codegen 作为脚本阶段的一部分运行,该脚本阶段会自动添加到 CocoaPods 生成的项目中。
cd ios
bundle install
bundle exec pod install
输出将如下所示:
...
Framework build type is static library
[Codegen] Adding script_phases to ReactCodegen.
[Codegen] Generating ./build/generated/ios/ReactCodegen.podspec.json
[Codegen] Analyzing /Users/me/src/TurboModuleExample/package.json
[Codegen] Searching for codegen-enabled libraries in the app.
[Codegen] Found TurboModuleExample
[Codegen] Searching for codegen-enabled libraries in the project dependencies.
[Codegen] Found react-native
...
4. 实现原生代码
现在是时候实现原生更改,使您的 JS 能够直接调用原生视图上的方法了。
- Android
- iOS
要让您的视图响应原生命令,您只需修改 ReactWebViewManager。
如果现在尝试构建,构建将会失败,因为当前的 ReactWebViewManager 没有实现新的 reload 方法。为了修复构建错误,让我们修改 ReactWebViewManager 来实现它。
- Java
- Kotlin
//...
  @ReactProp(name = "sourceUrl")
  @Override
  public void setSourceURL(ReactWebView view, String sourceURL) {
    if (sourceURL == null) {
      view.emitOnScriptLoaded(ReactWebView.OnScriptLoadedEventResult.error);
      return;
    }
    view.loadUrl(sourceURL, new HashMap<>());
  }

+  @Override
+  public void reload(ReactWebView view) {
+    view.reload();
+  }

  public static final String REACT_CLASS = "CustomWebView";
//...
  @ReactProp(name = "sourceUrl")
  override fun setSourceURL(view: ReactWebView, sourceURL: String?) {
    if (sourceURL == null) {
      view.emitOnScriptLoaded(ReactWebView.OnScriptLoadedEventResult.error)
      return;
    }
    view.loadUrl(sourceURL, emptyMap())
  }

+  override fun reload(view: ReactWebView) {
+    view.reload()
+  }

  companion object {
    const val REACT_CLASS = "CustomWebView"
  }
在这种情况下,直接调用 view.reload() 方法就足够了,因为我们的 ReactWebView 继承自 Android 的 WebView,并且它有一个直接可用的 reload 方法。如果您正在实现一个自定义函数,而该函数在您的自定义视图中不可用,您可能还需要在 React Native 的 ViewManager 所管理的 Android 视图中实现所需的方法。
为了让您的视图响应原生命令,我们需要为 iOS 实现几个方法。
让我们打开 RCTWebView.mm 文件并按如下方式修改它
  // Event emitter convenience method
  - (const CustomWebViewEventEmitter &)eventEmitter
  {
  return static_cast<const CustomWebViewEventEmitter &>(*_eventEmitter);
  }

+  - (void)handleCommand:(const NSString *)commandName args:(const NSArray *)args
+  {
+  RCTCustomWebViewHandleCommand(self, commandName, args);
+  }
+
+  - (void)reload
+  {
+  [_webView reloadFromOrigin];
+  }

  + (ComponentDescriptorProvider)componentDescriptorProvider
  {
  return concreteComponentDescriptorProvider<CustomWebViewComponentDescriptor>();
  }
要使您的视图响应原生命令,您需要进行以下更改
- 添加一个
handleCommand:args函数。该函数由组件基础架构调用以处理命令。对于每个组件,函数实现都类似:您需要调用 Codegen 为您生成的RCT<componentNameInJS>HandleCommand函数。RCT<componentNameInJS>HandleCommand会进行一系列验证,检查要调用的命令是否在支持的命令中,以及传递的参数是否与预期的参数匹配。如果所有检查都通过,RCT<componentNameInJS>HandleCommand将调用适当的原生方法。 - 实现
reload方法。在本例中,reload方法调用 WebKit 的 WebView 的reloadFromOrigin函数。
5. 运行您的应用
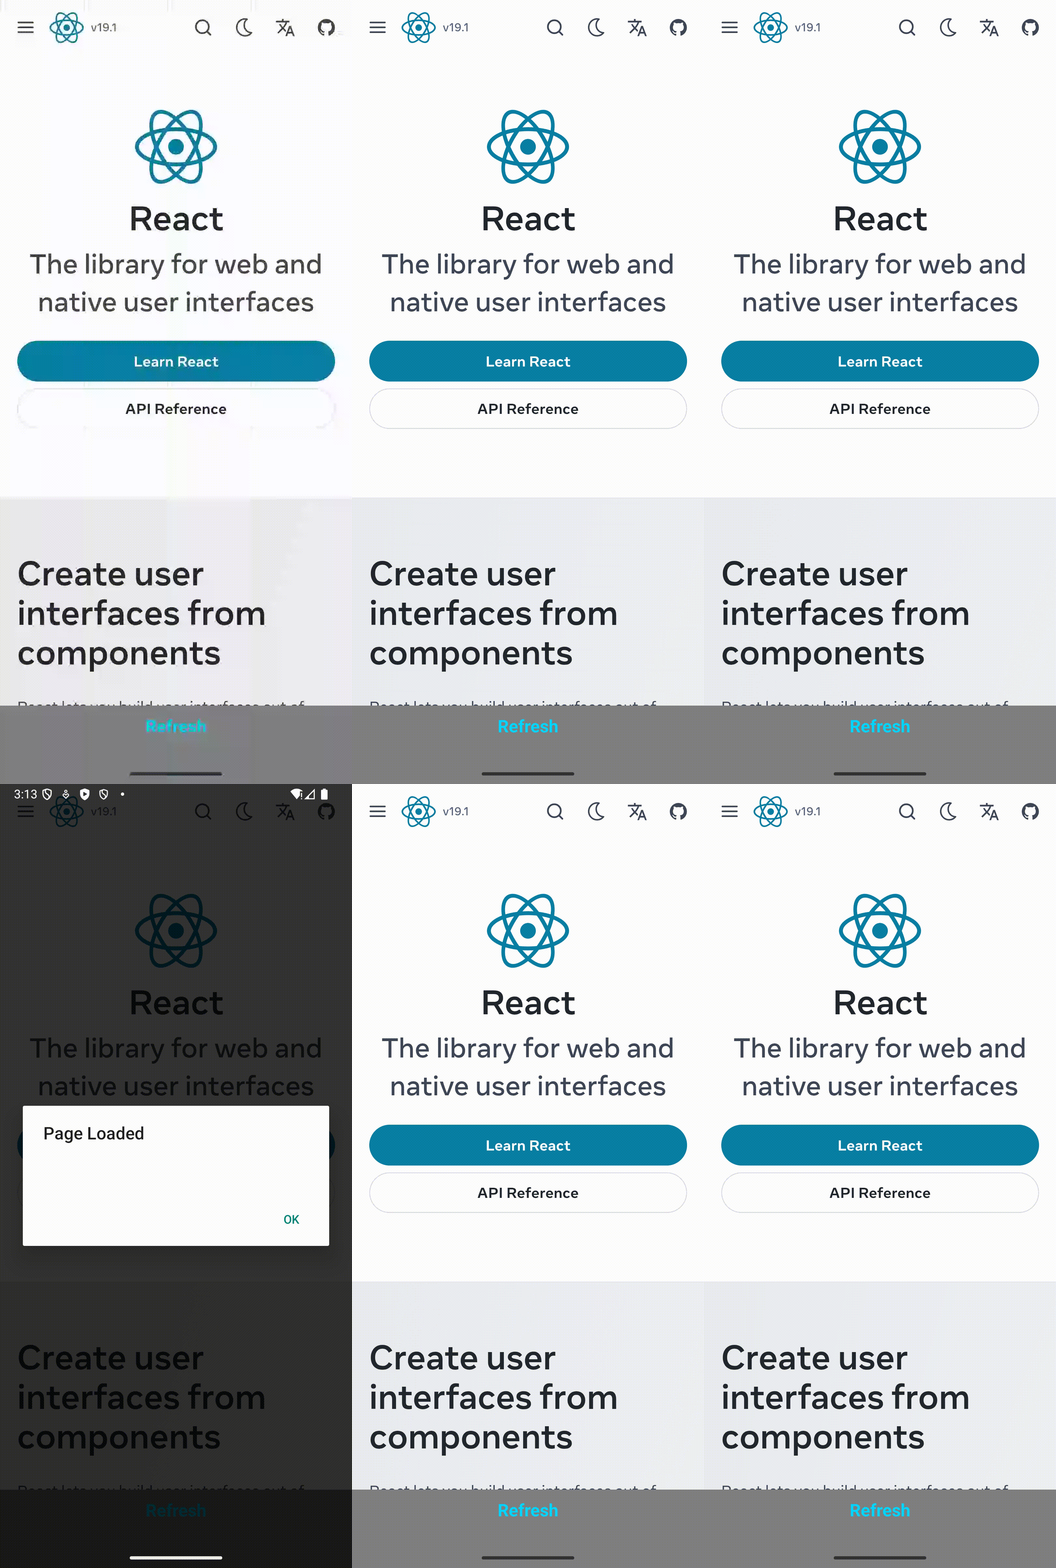
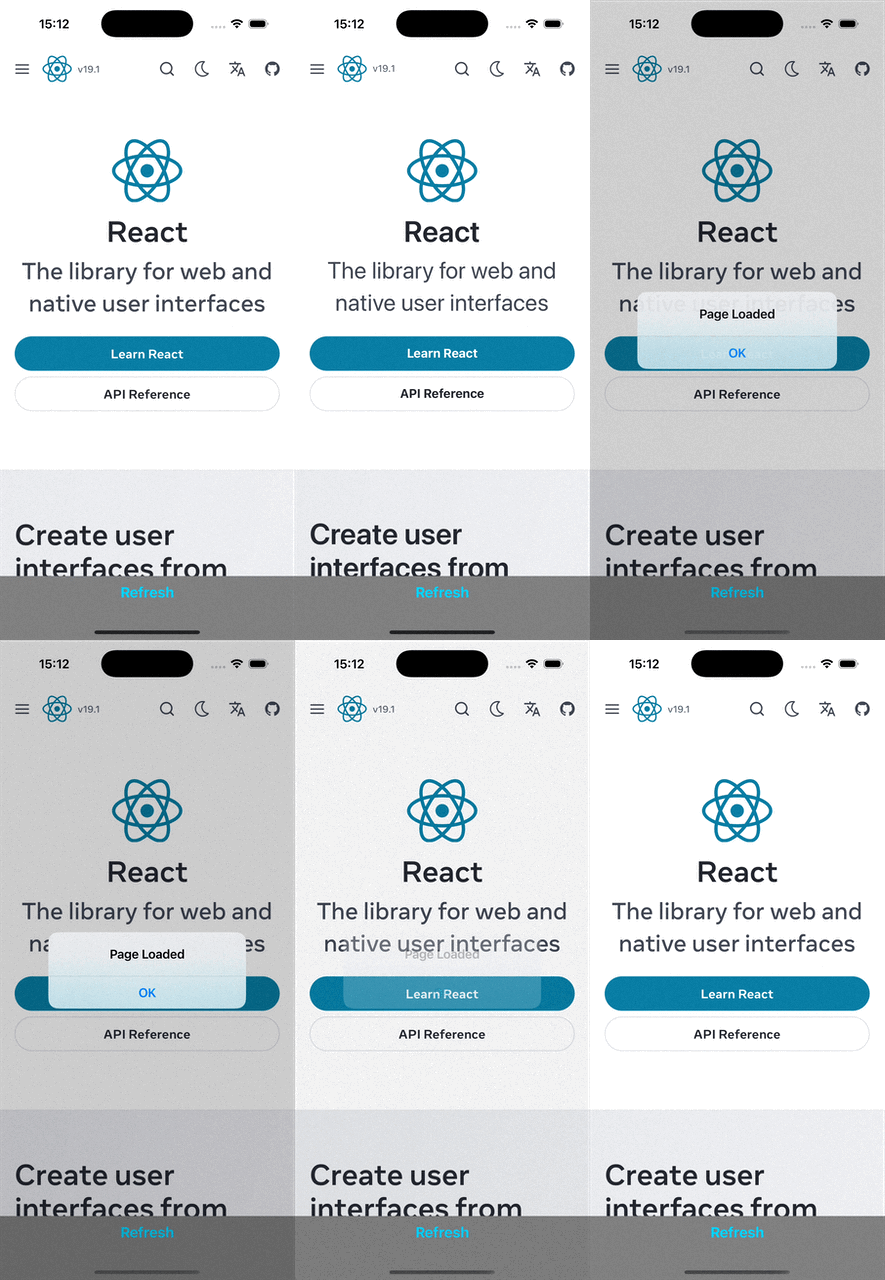
最后,您可以使用常规命令运行您的应用。应用运行后,您可以点击刷新按钮,看到页面被重新加载。
 |  |